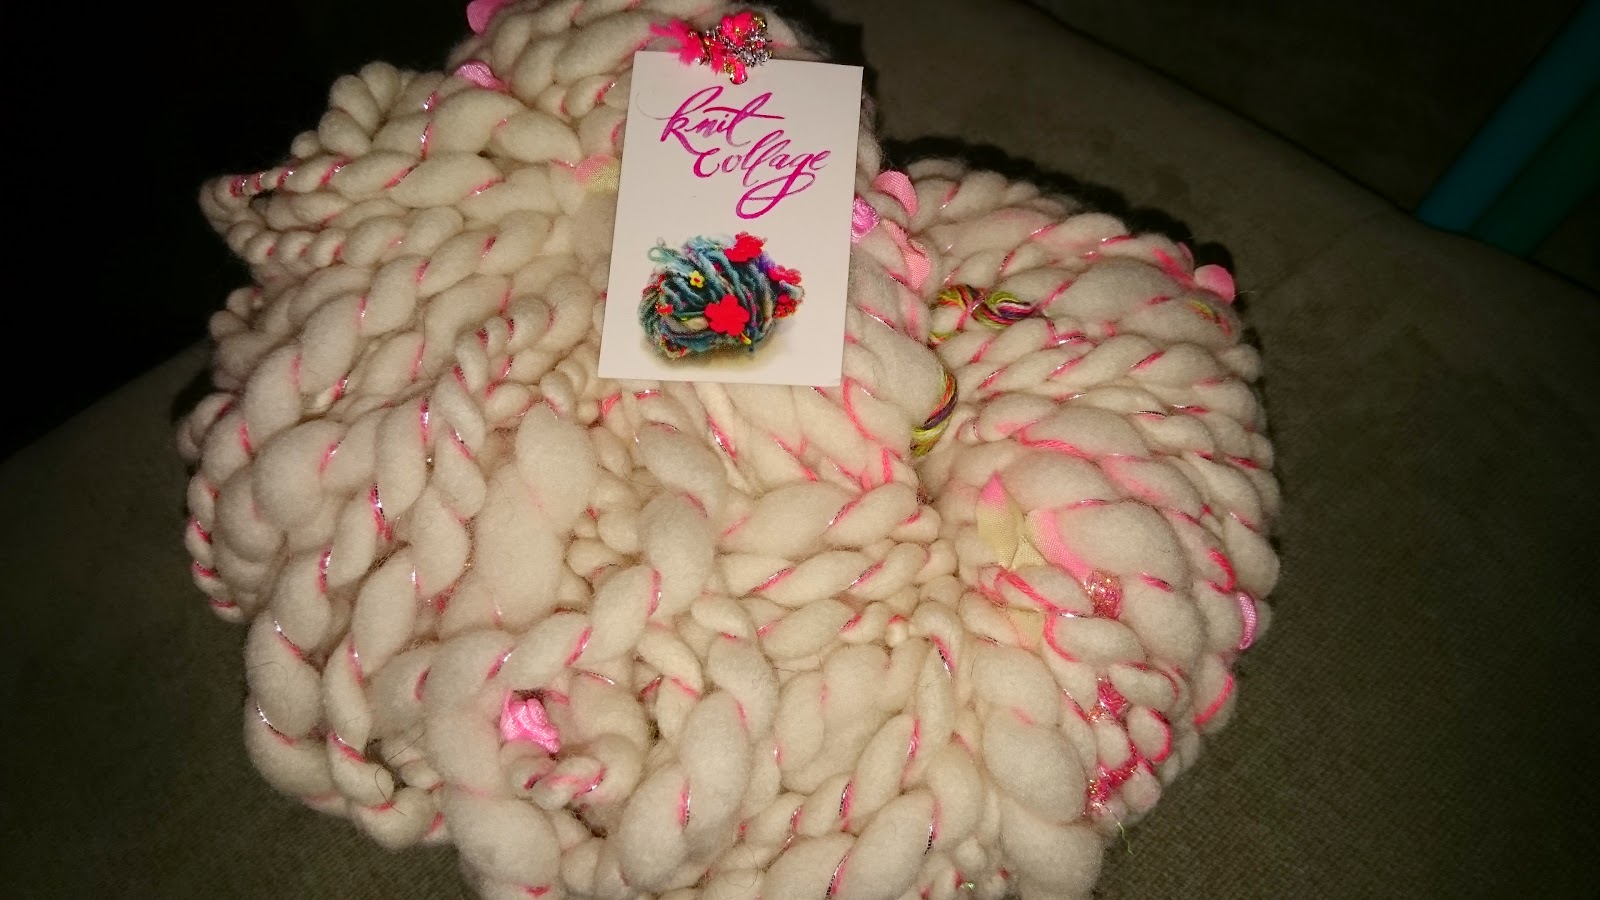
Friday, February 17, 2023

Grande Hoodie

It’s been awhile since I knitted completely without a pattern but I saw this on instagram and could not resist.


Grande Hoodie

Gauge: big sts/in
Needles: 35 US, 19 US
Notions: darning needle, access yarn for stitch holders & markers

Pattern

Notes:
knit the knits and purl the purls 
s1 at the beginning of each row for smooth edge 
Stop and weave in ends after step 7 for a hooded vest.
 
1) With smaller needles CO 72 stitches
I don’t think using the smaller needles did much for me.  You could try even smaller or use the 35s. 
I CO with the backwards loop method but wish I would have used something a bit tighter.

2) Knitting flat: s1, *p1,k1, repeat from * until 1 st is left, p1
repeat for 2 more rows
 
3) switch to larger needles
s1, *p1,k1, repeat from * until 1 st is left, p1 
repeat for 17 rows
 
4) Separate knitting into 3 sections
18 & 36 & 18 (front left, back, front right) 
with the right section: s1, *p1, k1, repeat from * until 1 st is left, p1; repeat for 20 rows
with the back section: s1, *p1, k1, repeat from * until 1 st is left, p1; repeat for 20 rows
with the left section: s1, *p1, k1, repeat from * until 1 st is left, p1; repeat for 20 rows

5) Separate knitting into 7 sections

9 & 9 & 9 & 18 & 9 & 9 & 9 (front left, shoulder, shoulder, back, shoulder, shoulder, front right) 
put the shoulder sections on holders 
knit across the remaining sections: s1, *p1, k1, repeat from * until 1 st is left, p1; repeat for 20 rows
with the back section: s1, *p1, k1, repeat from * until 1 st is left, p1; repeat for 20 rows
with the left section: s1, *p1, k1, repeat from * until 1 st is left, p1; repeat for 20 rows

6) Using the 3 needle BO, divide and fold the remaining stitches in half.  BO using the 3 needle BO.

7) Stitch the shoulders together.  I used the 3 needle BO on each side then stitched the remaining area together.

8) Sleeves… repeat for each sleeve.

  • Pick up 22 (even number) stitches along the outside of the armhole.
    • For larger balloon sleeves pick up 36 sts later decrease 2 rows vs. 1
  • Note: I knit back and forth rather than in the round but you could use the magic loop.
  • k1, p1 for 14 rows
  • *k2tog, p2tog* repeat from * until 1 st is left, k1
  • switch to smaller needles
  • *k2tog, p2tog* repeat from * until 1 st is left, k1
  • Repeat for 3 rows
  • BO loosely in pattern
  • Whip stitch up sleeve
9) Weave in all ends and enjoy!


 Sketching…


After step 4:

 During step 7:


Tuesday, January 27, 2015

Bright & Bold

This collage yarn is so yummy all wound in a skein. But I didn't ever seem to be satisfied with whatever project I began.  It took some trial and error... I do like the way this turned out. I do wish it was a little longer to be able to twist and wrap as a cowl.

Bright & Bold

Gauge: big sts/in
Needles: 35 US, straight
Notions: darning needle, button (optional)

Knit Collage Gypsy Garden Yarn


Pattern:

CO 10
Row 1 (WS): s1 *p2, k1*
Row 2 (RS): s1, *k2, p1*
BO
Bright & Bold Scarf

Saturday, February 22, 2014

Kermit Cowl

I love the Muppets and everything Kermit green.

A while back I found this yarn on Etsy at Hickory Ridge Farm and fell in love with it.


I had a difficult time determining what to do with this yarn. Because it’s so bulky and one ply it was hard for me because I am a tight knitter.  Also, I did try to knit with plastic needles and this yarn would just not move so I ordered some new Addi tips and they worked like a charm.
I could have used slightly larger needles but I like the results here.  I'm sure this pattern has been written up and used many times over...
Spring Grass, Handspun Merino Wool, Single Ply Thick and Thin

Kermit Cowl

Gauge: big sts/in
Needles: 19 US, circular
Notions: 1 stitch marker, darning needle
Yarn: Very Bulky (4 oz in 45 yards)

Pattern


CO 36
join (careful not to twist)
Knit 14 rows
BO

Cheers!
Jenny

Saturday, January 25, 2014

Knitting a Chick

I'm a little later than I had hoped in getting this post published... oh well.  I loved this project and had so much fun knitting it!  

A couple of friends are had a little girl in just a few days ago and I am so excited for them!  I love hearing about her adventures with their chickens.  Over the past year they have put a lovely little coop in their backyard..

I quickly decided that I had to knit something for the new little "chick" that would be arriving.
It seems all the latest newborn photos are taken in a knitted hat. What could be more perfect than a knitted chick hat.

First I researched and found that the average newborn head has a circumference of 14".  Then I just knit the hat and experimented with the extras.

Feel free to use this pattern as you like.  I maintain all rights so you may not sell the pattern but you may sell anything you create from it.

Little Chick  

Little Chick

Gauge: Hat: 2.5 sts/in
Needles: Hat: 15 US, double points
                    Beak: 6 US, straights
Notions: 1 stitch marker, darning needle, scissors
Extras: 2 black buttons, black thread, sewing needle
Yarn: Hat: Lion Brand Homespun Thick & Quick in Dove
              Beak: Dale of Norway Dalegarn Falk in Orange

Pattern


Hat
CO 30 sts
Join in the round being careful not to twist the stitches.
Place marker (PM) at the beginning of the round to track your progress.
Knit for 15 rounds.
Begin decrease rounds:
k2tog, k3, repeat to end of round. 24 st remain
k2tog, k1, repeat to end of round. 16 st remain
k2tog, repeat to end of round. 8 st remain
Weave ends through remaining stitches.  Weave in ends.

Beak
Note: All WS or even rows (2,4,6,8,10) - purl
CO 10 sts, be sure your tail is a minimum of 8 inches
Row 1: knit
Row 3: ssk, k6, k2tog
Row 5: ssk, k4, k2tog
Row 7: ssk, k2, k2tog
Row 9: ssk, k2tog
Row 11: k2tog
BO
Leave the ends as is (do not weave them in).


Putting it all Together


Place the buttons and beak on the hat as positioned in the final pictures.  Pin the beak in place.  Attach the buttons using black thread.  Using the tails on the beak attach the beak by weaving the ends around.  Be sure to weave them close to the beak to hide them.

Braids
12 x 30 inch strands of yarn
Pull 6 strands through the bottom of the hat.  Using 2 strands as 1 braid the strands together.  Once you've reached the desired length knot the ends and trim the extra.
Repeat on the opposite side.
 Tuft
3 to 4 x 6 inch strands of yarn
Pull the strands through the top of the hat.  I knotted the strands once to ensure they would stay in place.  Then trimmed them to about 2 inches.


Little Chick
Enjoy!
Jenny

Tuesday, December 24, 2013

Twisted Orange

Finished a cowl for my mom just in time for Christmas!  My Mom is a JR High school teacher where the colors are orange and black.

Feel free to use this pattern as you like.  I maintain all rights so you may not sell the pattern but you may sell anything you create from it.


Twisted Orange

Gauge: doesn't matter
Needles: 11 US
Yarn: Super Bulky, Plymouth Yarn Baby Alpaca Grande

Pattern
CO 20
Row 1: yo, s1, k1 - 30sts
Row 2: yo, s1, k2tog
Repeat row 2 until only enough yarn is left to BO & stitch ends together (about 1 yard).

BO in s1, k2tog pattern.

Twist rectangle and stitch ends together to make a cowl.

Enjoy!
Jenny


Sunday, December 15, 2013

Mittens for the Girls

This fall Colorado had its second annual yarn crawl or rather the Yarn Along the Rockies.  I may have overdone it (that's another story).  I bought several skeins of yarn to make gifts...

I found the perfect yarn to create something for my nieces.  It sparkles - Berroco Brio!  I found it at a cute shop Yarn West in Evergreen, CO.

Berroco Brio
I searched Ravelry for the right pattern for the yarn.  There are quite a few patterns that allow for adjustments to be made based on your gauge but I decided I'd just create my own pattern.  I started out by determining my gauge.  Then I just CO in k2, p2 for the length I liked.  I've knit several pairs of mittens so creating a thumb wasn't that difficult of a concept.  My first attempt looked a little pointed so I adjust while knitting the second pair of mittens.

I love how each mitten's stripes turned out differently.

Mittens from Final Pattern 
First Pair of Mittens
Feel free to use this pattern as you like.  I maintain all rights so you may not sell the pattern but you may sell anything you create from it.

Techniques Used: M1R, M1L, double points in the round

Size: Child (5-7 year old)
Yarn: Super Bulky - Berroco Brio (if making 2 pairs there will only be a yard or 2 left so be forewarned)
Gauge: 3.25 st/in, 4.5 rows/in
Needles: Double Pointed 11 US

Pattern:
CO 20, join in the round
Round 1-11: k2, p2
Round 12: knit 20, M1R
Round 13-14: knit
Round 15: k1, pm, M1R, pm, k
Round 16: k1, sm, M1R, k1, M1L, sm, k
Round 17: knit
Round 18: k1, sm, M1R, k3, M1L, k
Round 19: knit
Round 20: k1, sm, M1R, k5, M1L, k
Round 21: knit
Round 22: k1, sm, M1R, k7, M1L, k
Round 23: k1, place next 9 sts on holder, knit to end of round
Round 24-29: knit
Round 30: k5, k2tog x 3 (decr 3 -> 18)
Round 31: k1, k2tog x 6 (decr 6 -> 12)
Round 32: k2tog (6 sts left)
Weave ends to finish top.

Finishing the Thumb:
Place the 9 stitches on 3 needles.
Knit 5 rounds
K2tog, k1, repeat 2 more times
Weave in ends.

Enjoy!
Jenny